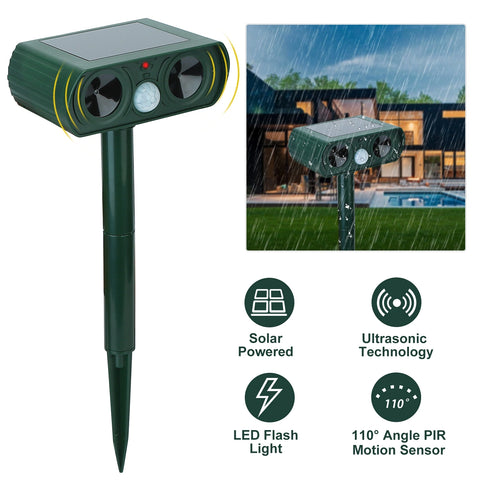


Ultrasonic Animal Repellent - Solar Powered Motion Sensor Repeller, IPX4 Waterproof
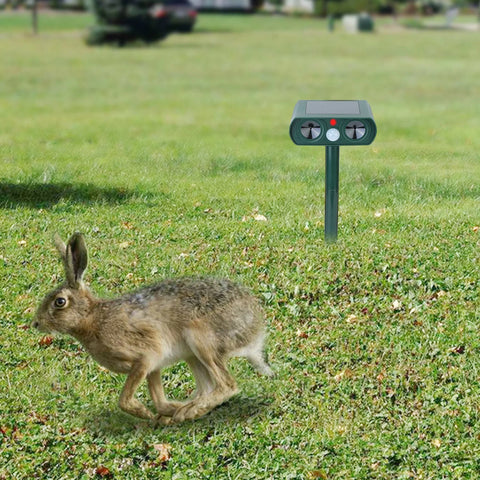
Imagine your garden as a peaceful little haven, with vibrant flowers and veggies flourishing undisturbed. Sounds like paradise, doesn’t it?
Then get the Ultrasonic Animal Repeller!
It’s like having an invisible friend who gently keeps pesky critters away, so that you can enjoy every single moment at your home.
Features and Benefits of The Ultrasonic Animal Repellent
|
Feature |
Benefit |
|
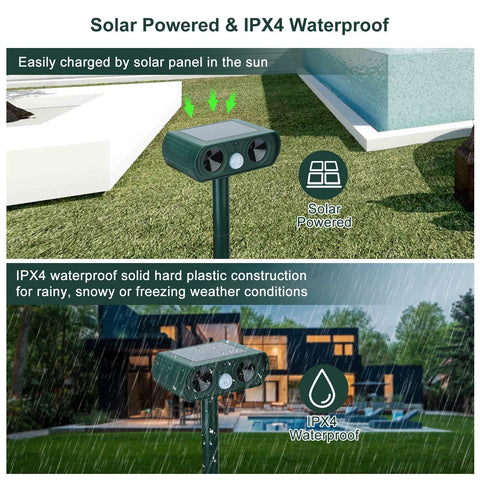
Solar Powered |
Saves energy and has continuous usage during daylight. |
|
IPX4 Waterproof |
Provides reliable performance in any weather conditions, making it versatile for outdoor use. |
|
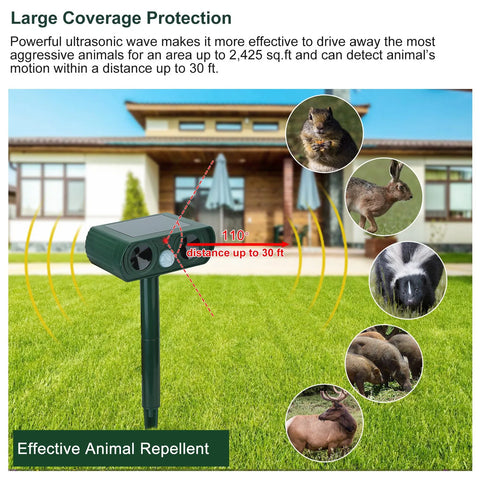
Ultrasonic Tech |
Effective in repelling a wide range of animals, even those immune to constant frequencies. |
|
PIR Motion Sensor |
Activates repeller only when animals are detected |
|
Coverage Area |
Suitable for large areas (up to 2,425 sq. ft) |
|
Adjustable Settings |
Customizable to repel various animals |
|
No Harmful Chemicals |
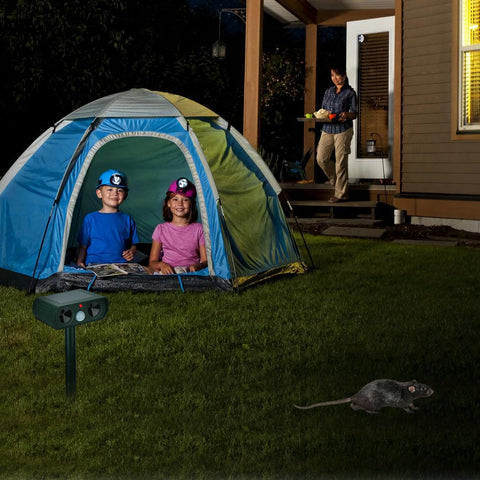
Safe for humans, pets and the environment |
|
Easy To Install |
Simple to set up |
|
Compact and Portable |
Easy to transport and ideal for camping |
Step-by-Step Guide to Using The Ultrasonic Animal Repellent
Now that you know more about our product, let’s get into a quick and easy step-by-step guide to help you install your ultrasonic animal repellent properly.
-
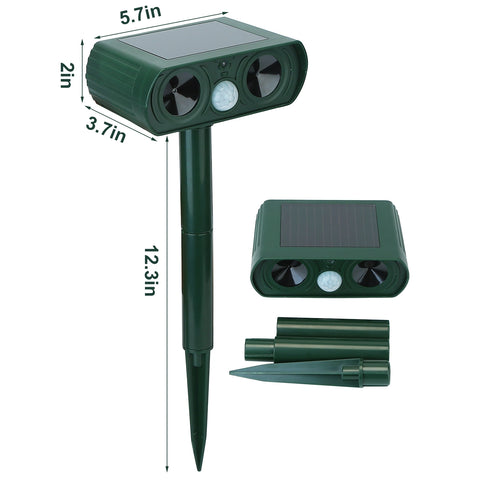
Unpack the Box:
First things first, let’s see what’s inside! You should find:
-
-
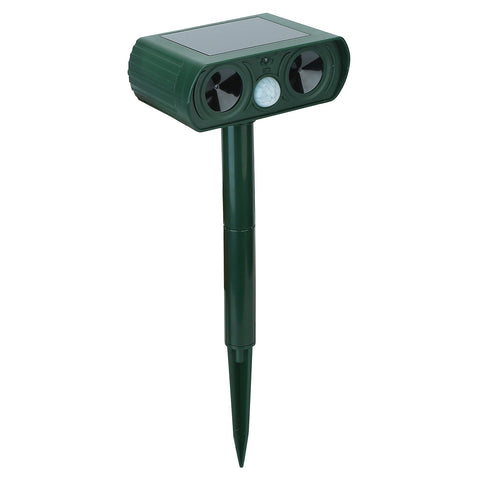
1 Solar Ultrasonic Animal Repeller
-
1 Installing Pole
-
1 User Manual
-
-
Peel Off Protective Coating:
Don’t forget to remove the clear protective coating on the top of the solar panel. This ensures it can soak up as much sunlight as possible!
-
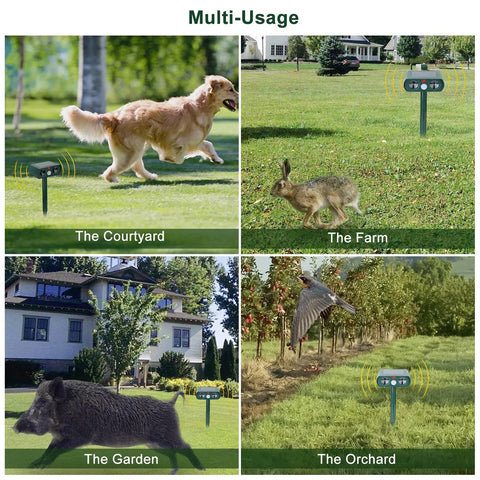
Choosing the Location:
Pick a sunny spot! The solar panel needs plenty of sunlight. Also, aim the repeller towards where you think the animals will come from for the best results.
-
Ground Installation:
Use the removable pole to place the repeller into the ground.
Make sure the pole is at least 4 inches above ground. Instead of hammering it in, dig a little hole for easier mounting.
-
Hanging Installation:
If you prefer to hang it, choose a sunny location like a fence or tree.
-
Powering On:
Switch it on and watch for the red LED light to blink. This means the PIR sensor is activated and ready to detect motion.
-
Adjusting Settings:
You can tweak the frequency and sensitivity dials to target specific animals or cover them all at once.
Get Yours Today!